


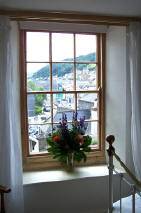
We will assume that we are painting a previously painted window assembly made entirely of wood. The wooden part that "holds" the glass is called the SASH (upper and lower). The part that surrounds the whole assembly is called the CASING. The part that lies at the bottom is called the SILL.
 First be sure that the WALLS are already finished and dry... otherwise you might end up mixing different colors and get poor results and have to paint over the surrounding WALL areas
 Next drive-in any nails with a nail-setter and PUTTY the holes flush to the surface...

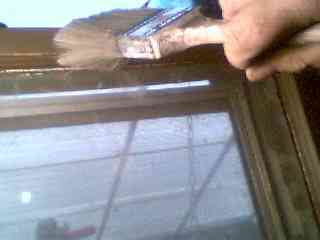 Start at the top near the center at the window pane-sash edge...
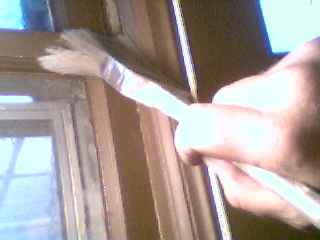 Continue brushing ("cutting") outwards to the sides and then downwards
![]()
![]()
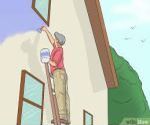
 Learn your own
capabilities and PACE YOURSELF as you work... rushing along will only produce mistakes and an
inferior job! [read all the tips]
Learn your own
capabilities and PACE YOURSELF as you work... rushing along will only produce mistakes and an
inferior job! [read all the tips]
Copyright © 1998-2026 Paintahouse®All Rights Reserved